Getting Started with CutServe
CutServe turns raw roundnet match footage into a condensed game with a live scoreboard, stats and highlight reels. You import the video, choose how to clip it, tag what happened on each point, and export. This guide walks you through the whole process, from download to your first export.
Step 1: Download and Install
Head to cutserve.app/download and download the latest version for your platform.
Getting Started
- Download CutServe for your platform from the Download page
- Mac: Open the DMG and drag CutServe to your Applications folder
- Windows: Run the installer and follow the prompts
- Launch CutServe and create your first project
CutServe automatically checks for updates. When a new version is available, it downloads in the background and prompts you to restart; no manual downloads needed.
System Requirements
- macOS 12 or later on an Apple Silicon Mac (M1 or newer), or Windows 10 or later
- At least 4 GB of free disk space recommended for video processing and exports
Step 2: Create Your Account
CutServe uses a free account to track your plan and export usage across sessions.
- On first launch, you'll land on the sign-in screen
- Click Sign up to create a new account with your email and a password
- Check your inbox for a confirmation email and click the link inside
- Return to CutServe and sign in
Your account works on the web at cutserve.app as well as inside the desktop app, and the same login gets you both.
Step 3: Import Your First Video
From the dashboard, click + New Project and choose where your footage is:
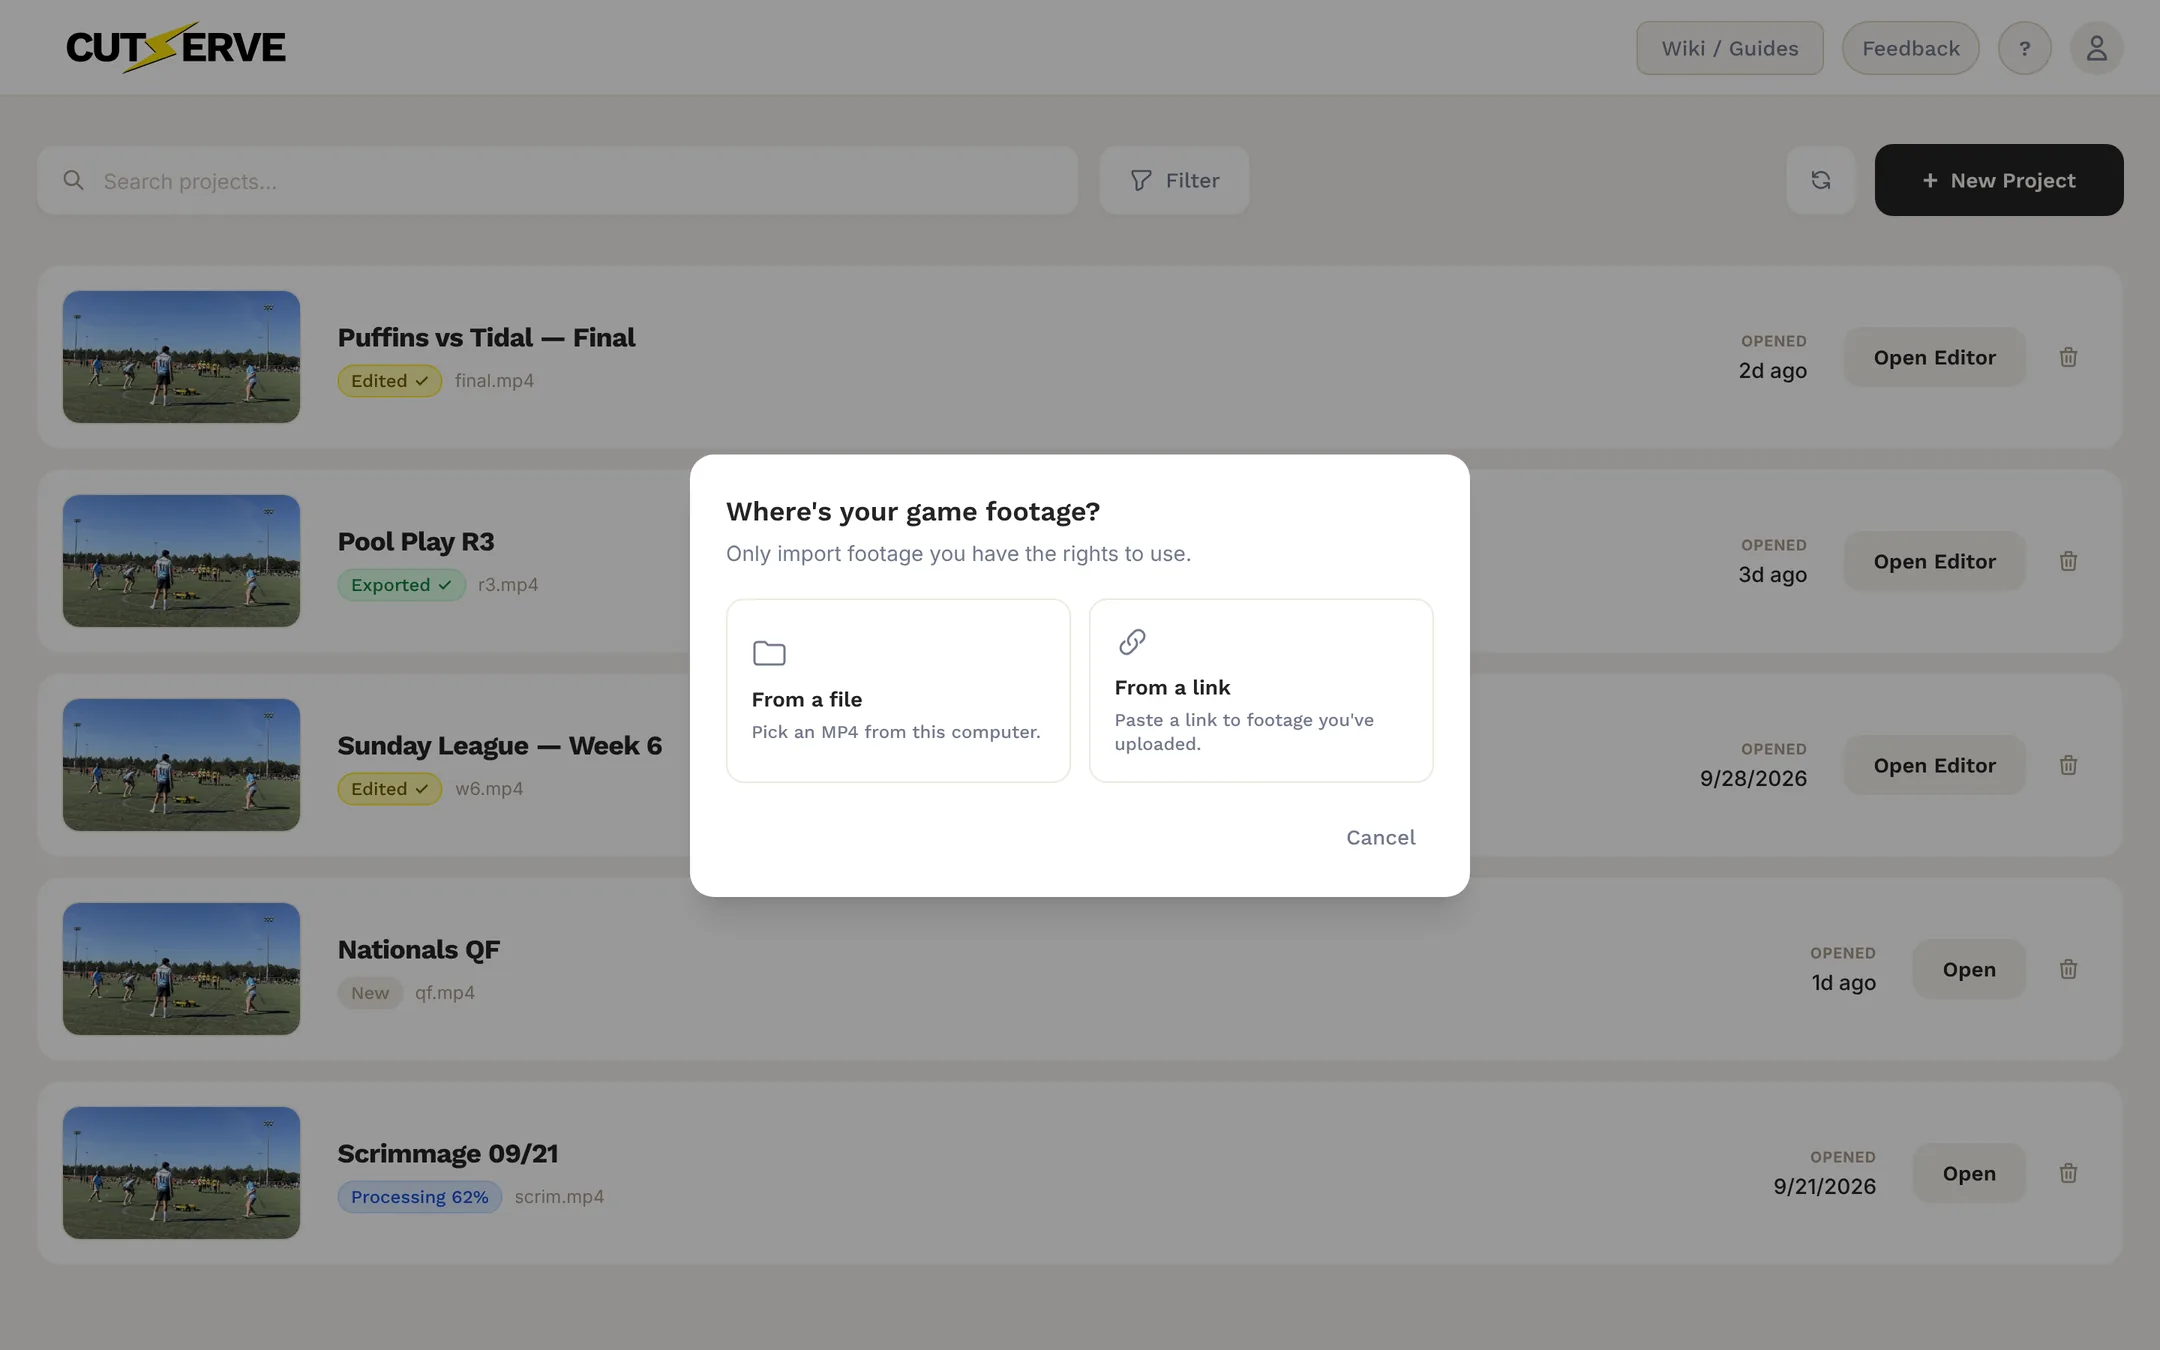
- From a file: A file picker opens filtered to MP4 files. Select your match recording and click Open.
- From a link: Paste a link to game footage you've uploaded (unlisted YouTube videos work well), pick a quality (up to 1080p, 720p or source quality) and where to save it. CutServe downloads it before continuing. You can also have the download deleted when you delete the project.
- Drag and drop: Drop an MP4 straight onto the dashboard to start a project.
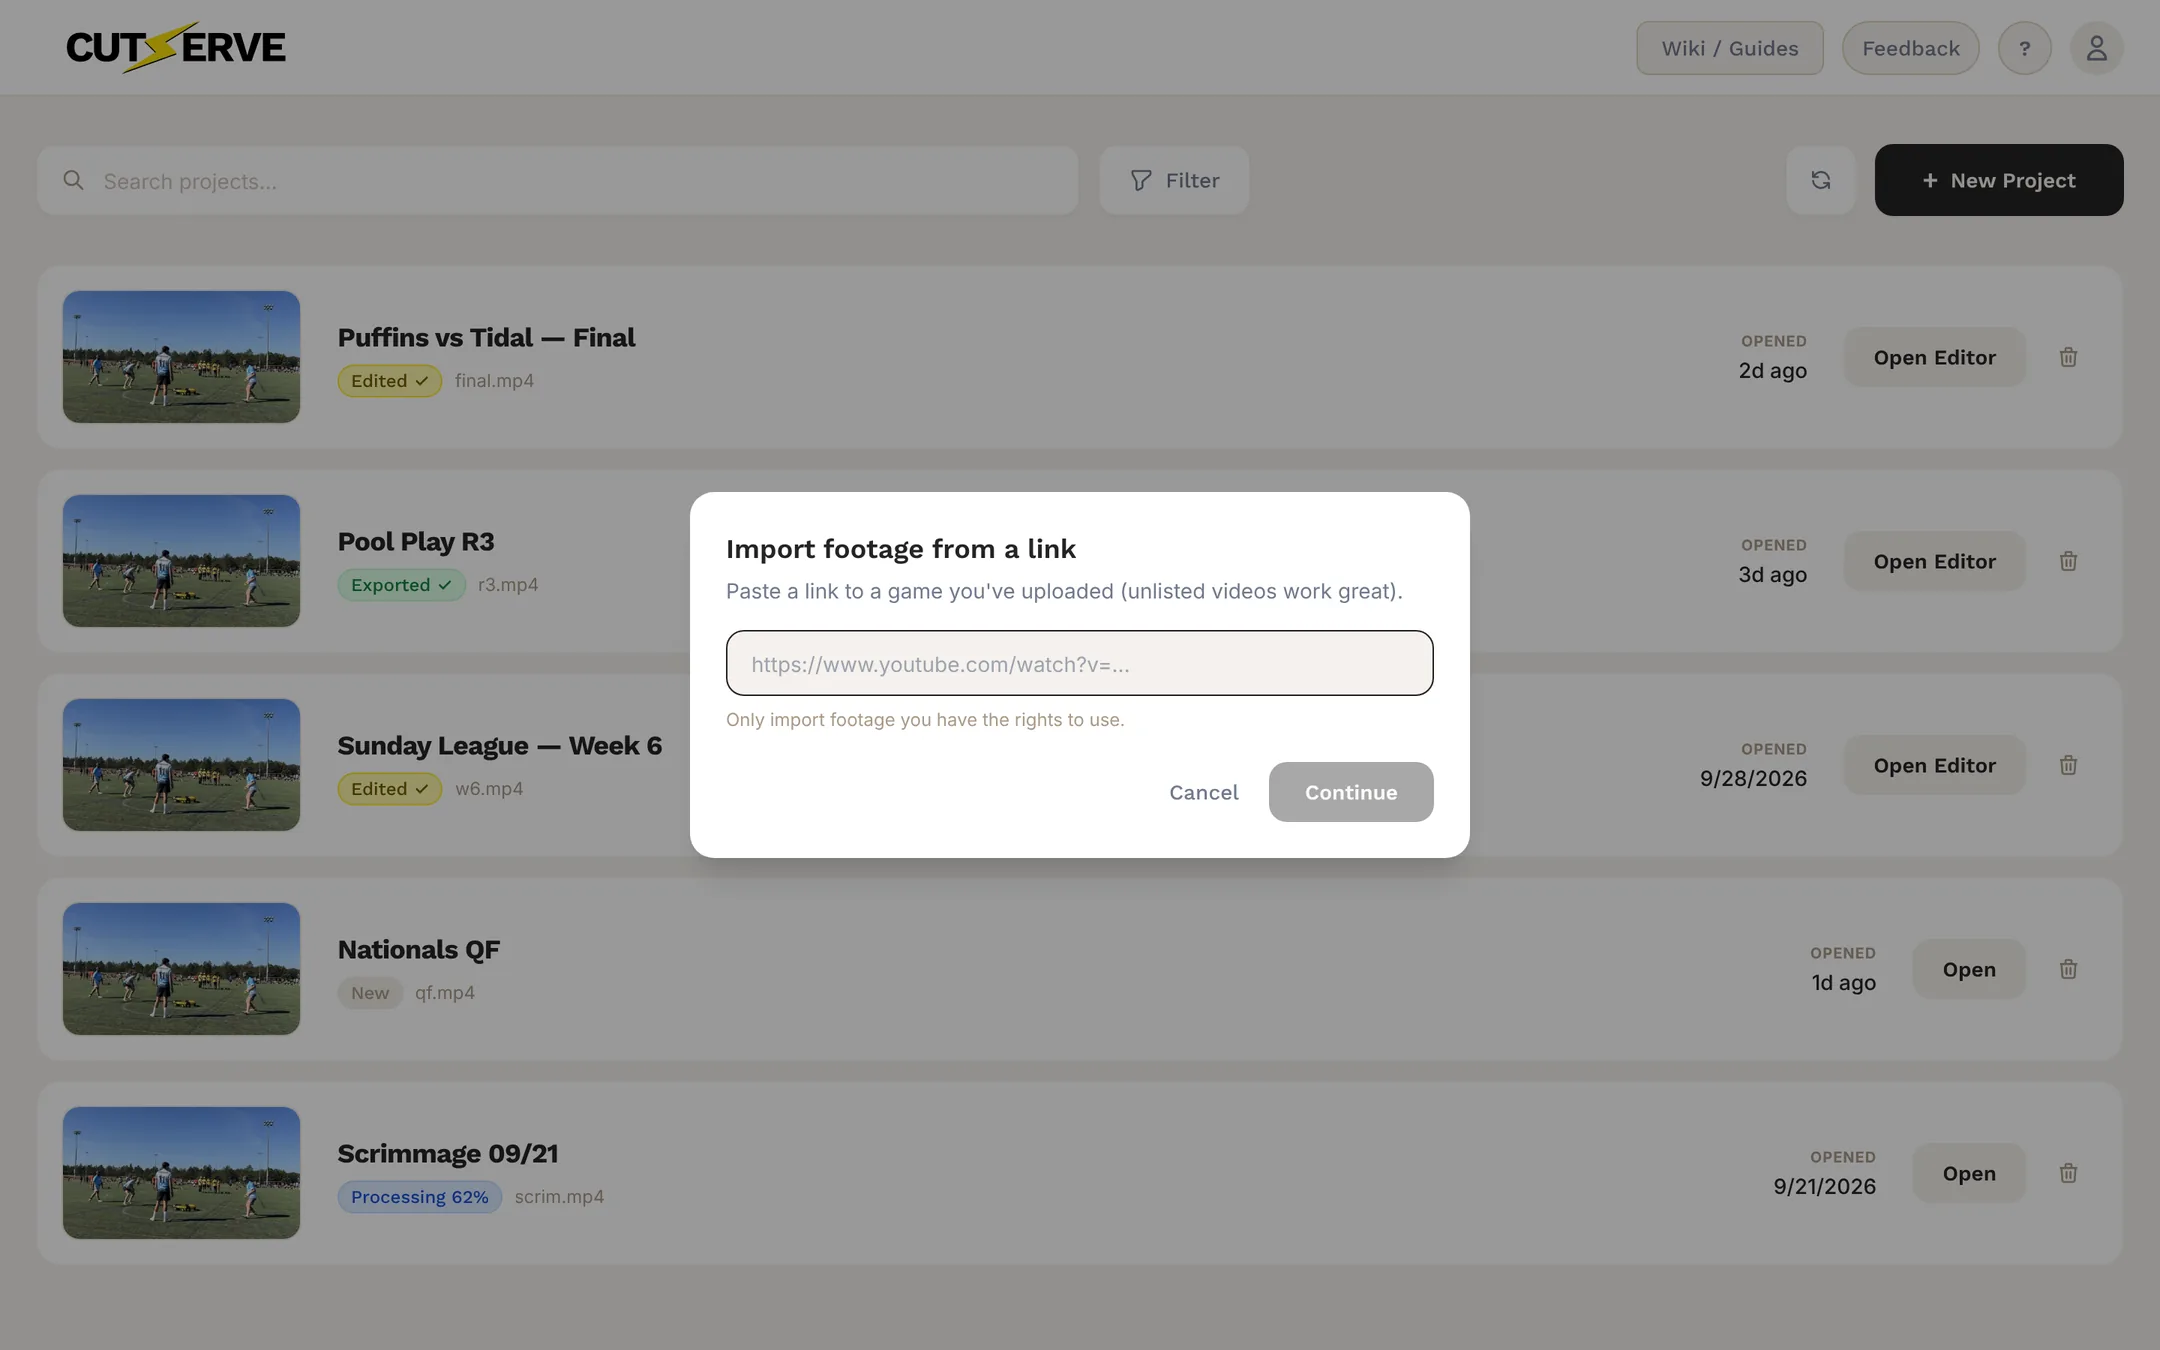
However you import, CutServe creates a new project named after your video.
.mp4. If your footage is in another format (MOV, MTS, AVI), convert it to MP4 first using a free tool like HandBrake. Link imports are downloaded and converted automatically. Only import footage you have the rights to use.Step 4: Choose How to Clip
After import, pick a clipping mode for the project:
- Auto detection: draw zones around the four serving positions and let CutServe find every point automatically, then review.
- Manual clipping: skip zone setup and processing. Watch the game once, mark each point's start and end, and tag as you go. See the Editor Guide for the marking workflow.
Step 5: Set Up the Match
Before you start tagging, CutServe asks for the match details. These drive the scoreboard, the serve rotation and every stat.
- Teams and players: Team names and the four player names.
- Who serves and receives first: CutServe tracks the rotation from here.
- Serving style: Traditional or Equal serving.
- Target score: The score the game is played to.
What Happens Next
With auto detection, the flow is:
| Stage | What you do |
|---|---|
| Zone Setup | Draw four trapezoids around the serving positions |
| Processing | CutServe analyzes the footage in the background |
| Match Setup | Enter teams, players, first server and serving style |
| Editing | Review clips, trim timing, tag stats, add replays |
| Export | Render the game in Broadcast Studio or cut a highlight reel |
With manual clipping, Zone Setup and Processing are skipped: you go from import to Match Setup and straight into clipping in the editor. Each stage has its own guide in the sidebar.